Let’s Get Visual!

From floor plan to built, there are many steps along the way and creating visuals is one way to help homeowners throughout the building process really grasp the concept of a homes design.

As mentioned in our previous post, we have been finding more and more ways to bring what is seen on a floor plan to life-before the building begins! Being able to see a space in more than one visual representation can be a very useful tool in determining how a space might feel once built. By creating different visuals early on, we as a team (homeowner(s) & builder) have the opportunity to discuss the likes and dislikes and make adjustments that can save on time and costs during construction.

This master closet set up was 3D printed and hand painted for a recent design meeting. It was paired with several other design components, such as a look book with a 3D photo rendering of the space and the floor plan and samples of cabinet and counter top materials.

Envisioning

As builders and designers, we are always looking for ways to bring plan sets to life. With technology has come the opportunity to expand on that further than ever before. We can model spaces and homes with better graphics on paper or even create a virtual tour of a home design. As of recent, one medium we are enjoying exploring is 3D printing. It’s certainly a learning process but in the end; when the concept of a cabinet set-up, a entire kitchen or the framing assembly of a whole house can be printed out and homeowners can better envision spaces they see on a floor plan and how that works for their lifestyle, it becomes an invaluable tool to the process of home building!

Below are a few pictures of a small cabinet print I (Dusty) did recently. There are still improvements to be made; for instance I attempted as few supports as possible to get the detailing of the knobs and lowered the fill quite a bit which shows in the cabinet doors, but how interesting is it to see just how much can be translated from a floor plan to a 3D model printed in place! For reference, I am printing on a Prusa i3 Mk3s+ using PLA filament. Currently, I am working on printing out an entire master closet layout, and (if all goes well) I look forward to sharing those photos-along with the process of 3D printing as a useful tool in the home design process!

If nothing else, this print makes for a clever pen holder 🙂

Reclaimed Corral Wood

We look at old barns, corral fencing and snow fencing and find beauty in the patina of the weathered wood, the chipped paint, the old knots and the rust stained nail spots. We see structures that stood the tests of time, kept livestock , stored equipment and fodder and delineated boundaries and we think to ourselves, “that wood is really something”, and we seek it out, giving these old timer barns and fences that have become dilapidated, abandoned or unuseful a new purpose. Restoring vitality.

Reclaimed wood can have some very interesting qualities to it making it an ideal wood for cladding. For the most part, much of the early barns and fences were built from wood out of slow growth forests. The most common early building wood came from pine, oak and chestnut. The trees from these areas grew taller and straighter and typically had much denser grain. After they were harvested, milled, affixed and matured their resistance to rot and insects increased as did their strength. Reclaimed wood is having it’s day, as more architects and builders look toward “greener” practices and incorporate it into their designs.

Reclaimed Corral Wood out of Montana, sourced by Western Hardwoods in Wellington, CO

On our Steamboat Springs project we have had the opportunity to work with Western Hardwoods out of Wellington, CO for our exterior siding and interior ceiling finishes. For this project we are installing reclaimed corral wood, coming out of Montana. Looking back to last spring, the addition project we did incorporated reclaimed snowfence from Laramie, WY as the exterior window cladding finish. On our Steamboat project, the wood fits so perfectly with the outdoor environment that the mountains continue to be the focal point of the space and the structure itself looks like it has been there for generations. On our addition project last year, the stucco color and overall design/shape of the house incorporated with the snowfence fit perfectly into its prairie surrounding. There’s so much to appreciate about good design and making a new structure fit right in with its natural surroundings!

Reclaimed Corral Wood out of Montana, sourced by Western Hardwoods, being used on the Siding, Sofit and Fascia of our Steamboat Springs Project
Reclaimed Snowfence out of Laramie, WY as the finish detail around the windows of our Fort Collins Addition Project

Have you checked out Western Hardwoods? Every time we stop by it’s to talk about a project, but before we leave we get plenty of lovin’ from the shop horses…I mean the Great Danes 😉 and we get to check out all the new creative things taking shape from their talented crew! From custom doors and furniture to mantles, beams and siding there’s a lot of cool things going on all the time over there! I’ve attached a link to Western Hardwoods website, if you’re interested in reclaimed lumber for your next project check them out! https://westernhardwoods.com/

Steamboat Studio Timber

For the Steamboat Studio Project we have had the opportunity to team up with Traditional Roots Joinery and watch as they build using the techniques many of our ancestors used to build homes: with large beams and precision mortise and tenon joints. The framing of this project went smoothly, thanks to months and months of planning and the many hands that came together with years of knowledge and expertise.

Matt and his team do such beautiful work and this frame fits just perfectly on this scenic homestead property. You can tell that Matt takes great pride in his craft, he is humble and generous, always happy to answer questions, explain the process, eager to talk about building in general and share his reasons to build in a traditional way. If you’re interested in learning more about or working with Traditional Roots Joinery, check out their website: http://www.traditionalrootsinc.com/

Ok, now on to some photos of the timber framing, and SIP’s (structural insulated panels) that make up the envelope of the Studio!

The first six photos are dedicated to the scarf joint that we just can’t get enough of. Seeing craftsmanship this good makes us feel all warm and fuzzy inside!

Addition Stories

It’s been a rough year and we are just 8 months in. Who could have predicted all the wild and unbelievable that has already occurred?! One thing that hit us very personally was the sudden need for one of us to stay home and participate in the homeschooling of our daughter as spring break was extended and then online schooling began. A project we anticipated being a bit faster turned out to take a bit longer when the reality of homeschooling hit. Fortunately, we had amazing homeowners to work with for this addition project!

This home was built about 5 years ago and when we met our homeowners they were looking to extend their living room and extend their office in to a sitting area. Below are a few photos we snapped yesterday of the areas, check them out!

The first couple of photos of are the extended living room. The Structural Beams that were once outside were pulled inside and kept exposed instead of hidden.

In these next couple of photos, the windows were directly behind the barn door seen and the exterior wall for the office ended at the partition seen to the right in the photo. The exterior alcove was pushed out to make space for a sitting space with an electric fireplace to enjoy during the colder months.

Concrete Looks

For our current project we had to match the homes existing concrete stain to the newly poured floors. To do this, we asked the company that originally did the staining to come back.

Take a look at a couple of the photos of the fresh stain work next to the older work in the two spaces we added on to, it turned out FANTASTIC! As we wrap up the project, we will add more photos of everything together! Thanks to Concrete Visions out of Fort Collins for doing a great job.

When considering reasons for planning a concrete slab as a homes flooring, one huge perk is the Energy Efficiency of the slab. In the cold months the slab retains solar heat. The heat is then released as the interior of the house cools, helping maintain a comfortable temperature. In the summer time, and as long as solar heat gains are avoided (done by selective window placement, exterior facades or interior finishes such as window coverings), the slab helps keep the house cooler. Radiant tubes through the slab, using water, can also play a role in home energy efficiency by running warm water in the colder months and cool water in the warm months.

Lyons Bath

Over the winter, we had the opportunity to do a quick project for a friend needing a mother-in-law cottage/AUD (accessory unit dwelling) in Fort Collins. Having watched our process on the Fort Collins project and been a part of several job site talks, our friend wanted the dwelling to be as efficient as possible. The space was previously a garage, and had the interior walls already up. We came in and helped with ventilation, air sealing and the insulation.

As we wrapped up the insulation and got them through their rough inspections, they asked if we would be willing to do their bathroom tile as well, as they really wanted to get the space finished before the spring. They were doing most of the finish work themselves, but felt the pressure to get things wrapped up so that their mother could move in. Below are a couple of interior design renderings we put together to show them what the bathroom would look like. They really appreciated getting to see before hand what the space they were envisioning would look like. After a few adjustments to the original design, we got to work and the completed bathroom turned out fantastic!

MIZIA BATH VIEW 1MIZIA BATH VIEW 2

Above: Concept Drawings to Confirm Tile Look and Layout

IMG_20200130_103631795IMG_20200130_103748451

Above: Installed Tile 

A few of the things that changed were the glass door and the bench, which were a part of the original drawing.

Many homeowners often express that they are not able to imagine their home and the spaces within it based on construction documents alone. This coupled with picking tile, cabinets, fixtures, carpet, even wall colors can become a daunting task during a home build. Having well produced interior design renderings that can show what a space will look like based on the materials being considered and the dimensions called out, are such an important and helpful tool as they can help confirm choices and allow for changes to be made before moving forward with installations or big purchases.

Are you living on the Front Range and thinking about building a new home or an Accessory Dwelling Unit? If so, send us an email at dusty@harrington.build 

Building Away

IMG_20200310_131352722-02

Even though many folks in Colorado are staying home, construction and home building is still progressing. New homes across the front range are in some form or phase of planning or permitting, many homes are actively being built, remodeled or added on to and our company is, as the Brit’s say, doing our best to keep calm and carry on.

Currently, we are just outside of Fort Collins working on an addition to a passive home that was built about 6 years ago and designed by DNA Design + Architecture, who designed the Loveland Project (see previous posts) home we built. This home is really very beautiful. The design elements find balance among the prairie landscape of the foothills. From large steel beams, to reclaimed barn wood and a stucco color that compliments the hues of the local and native plants, everything is well thought out and planned with intention. We’ll include some photos once we have it completed.

If you’re looking to build a home here in Northern Colorado, check out our Welcome page for our contact information. We look forward to continuing to build interesting, creative, beautiful and most importantly- efficient and sustainable, homes here in Colorado.

IMG_20200206_121120073IMG_20200226_141855075-01


Fort Collins Project Exterior Looks

Hey there!

Here’s a quick post just to show some photos of our Fort Collins Project’s Exterior details. Concrete, Wood, Stucco and Metal all played a role in providing a modern and brutalistic aesthetic!

Wood Stain: Sherwin Williams Super Deck Stain Covered Bridge

Stucco: Custom Color

Metal: Custom Color

Decking: Bison Decking Mahogany

*A few of these photos were obviously taken before everything was completed. As the landscaping is being implemented we will update several of these exterior looks with the completed landscaping.

IMG_20190419_135046885IMG_20190419_135112713IMG_20190419_135658524IMG_20190502_083639522IMG_20190410_162624_789IMG_20190516_182622810IMG_20190516_182601908

IMG_20190429_150642_807

IMG_20190904_093854247

IMG_20190614_151932487

IMG_20190612_094500342

IMG_20190830_125403954

IMG_20190830_125357149

Thanks for checking out these photos!

Tile Looks

This post will focus on the tile and stone looks from our Fort Collins project that we wrapped up in September. Our in house designer Dusty helped to make sure that the colors and sizes the homeowners had envisioned with their interior designer during planning, could be sourced and met the budget requirements.

Kitchen

Backsplash: Daltile Clio Mosaics Random in Hera

IMG_20190712_162406007

In our last post we showed off some of the counter tops in the kitchen, such as the waterfall island.  Counter tops: Daltile One Quartz in Morning Frost and Absolute Black Granite. The back splash at the island is the Daltile Portfolio in Charcoal.

waterfall edges

All bathrooms in the house also received the One Quartz Morning Frost for the counter top.

Powder Room

The powder room has a floating cabinet with four drawer fronts however we designed the box to only house two drawers, both the length of the box. Given that it is the powder room, our homeowners felt there wasn’t much need for multiple drawers.  The cabinet wall is floor to ceiling Daltile Clio Mosaics in Hera, the same as the kitchen. On the Floor: Portfolio in Charcoal @ 12×24.

IMG_20190805_100951605.jpg

IMG_20190805_101007912editedIMG_20190805_101102142edited

Master Bathroom

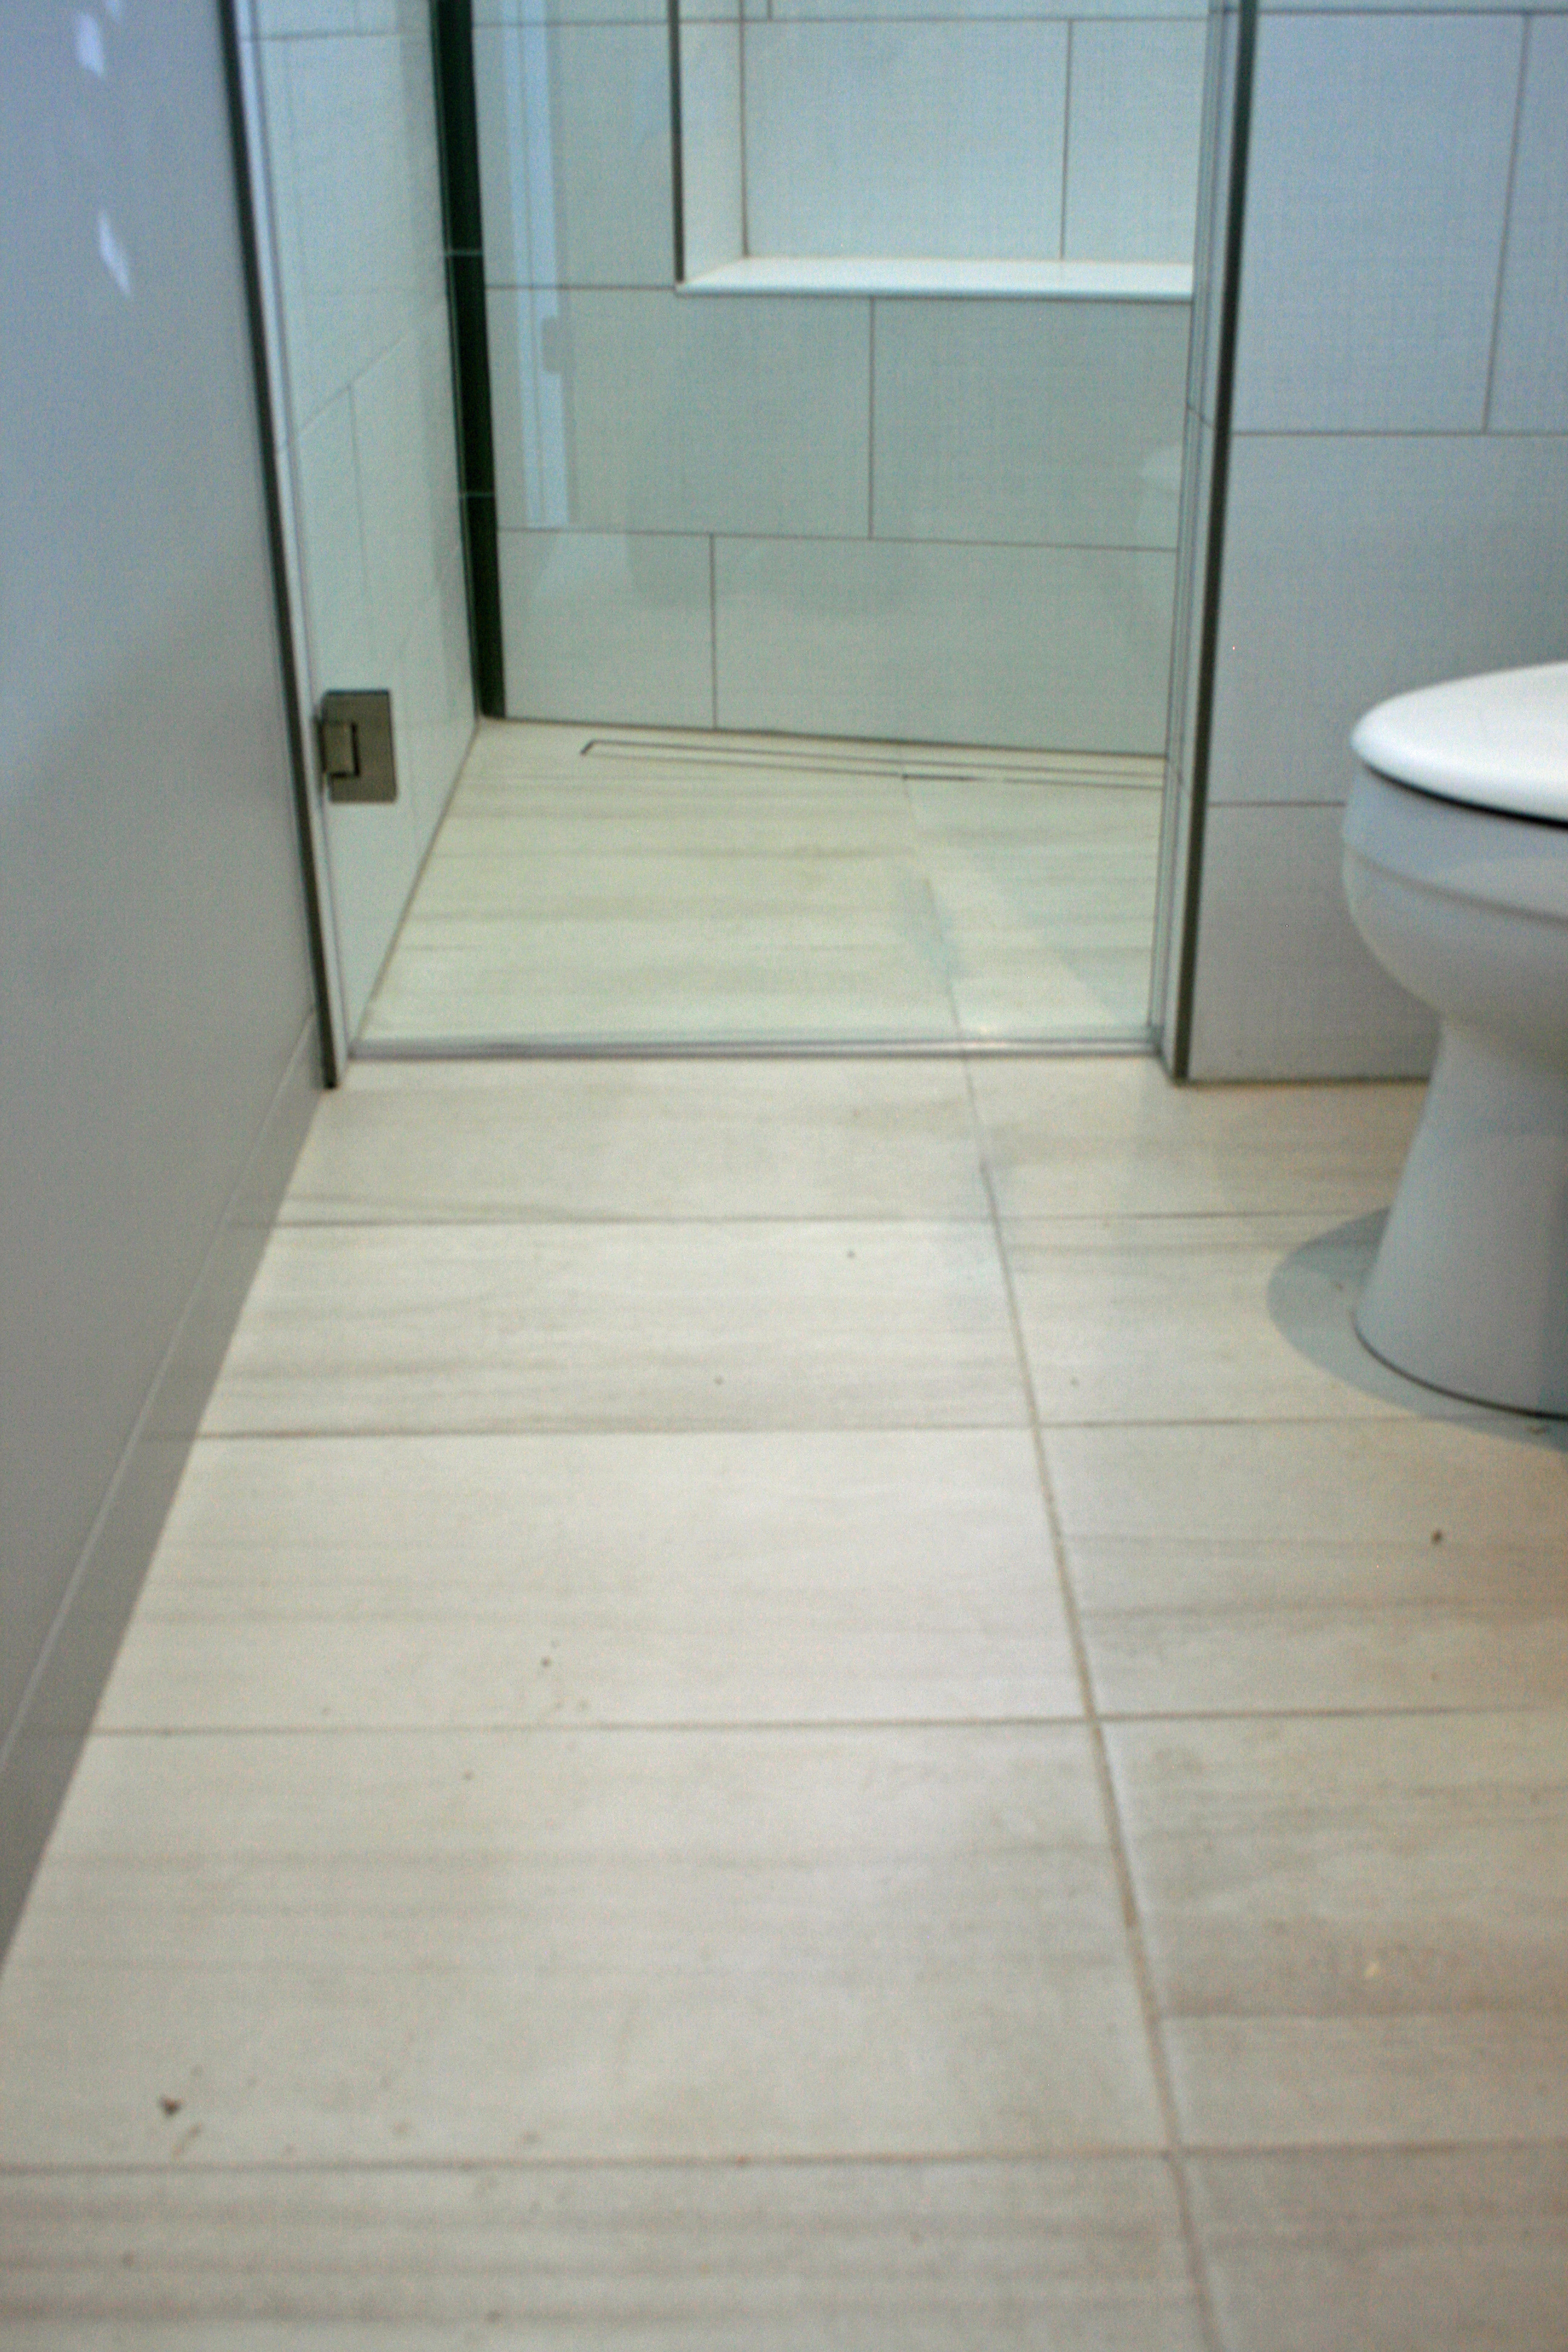
Our homeowners wanted a little color in their master bathroom and to achieve this we went with Dalitle Colorwave Green Parade. It really is a fun accent to the room! On the Shower Walls is Ottimo Elektra Lux and on the Floor is Daltile Avery

IMG_5481IMG_5498edited

IMG_5497edited

Hall Bath

The upper hall bath in our project has Daltile Bee Hive large format hexagon tiles. We used three colors, Grey, White and AshGrey. On the walls is Daltile Cove Creek Off White 4″x16″ tiles. The cabinet in this bathroom is also a floating cabinets with 4 drawers.

IMG_20190703_163437170IMG_20190703_163449465

3rd Master Bath

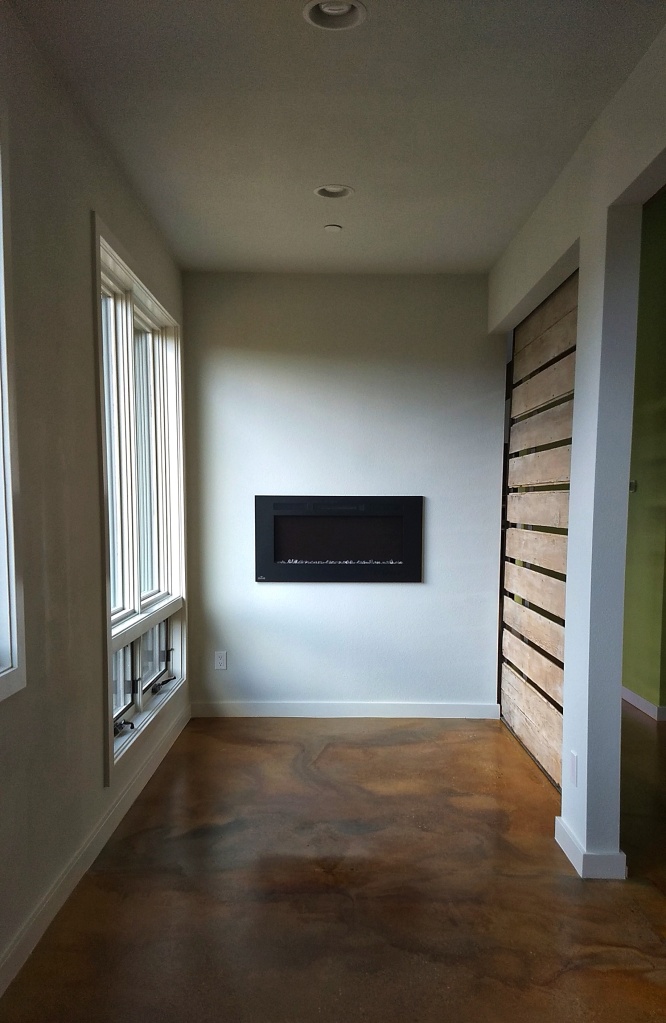
Several of the tiles in the house were used in multiple locations. For the 3rd floor master bath, Daltile Avery, seen on the floor of the master bath posted above, is used on the walls. Daltile Portfolio Charcoal in 12″x24″ is on the floor and a 6″x24″ at the wall inset. The use of the large format tiles really accentuated the tall walls and gave a lot of character to the space. The shower door is a full swing glass door. The shower wall inset was an idea we had after our homeowners requested a built out shower bench. To save space and avoid any code issues we decided to build into the wall, giving the shower it’s own interesting feature.

IMG_20190703_164136413edited

The mudroom and lower level bathroom in the house used elongated subway tiles, also from Daltile.

IMG_5558IMG_20190722_143531370IMG_5562IMG_20190822_112234378IMG_20190822_112509516IMG_20190822_112137141

Thanks for checking out our tile features!

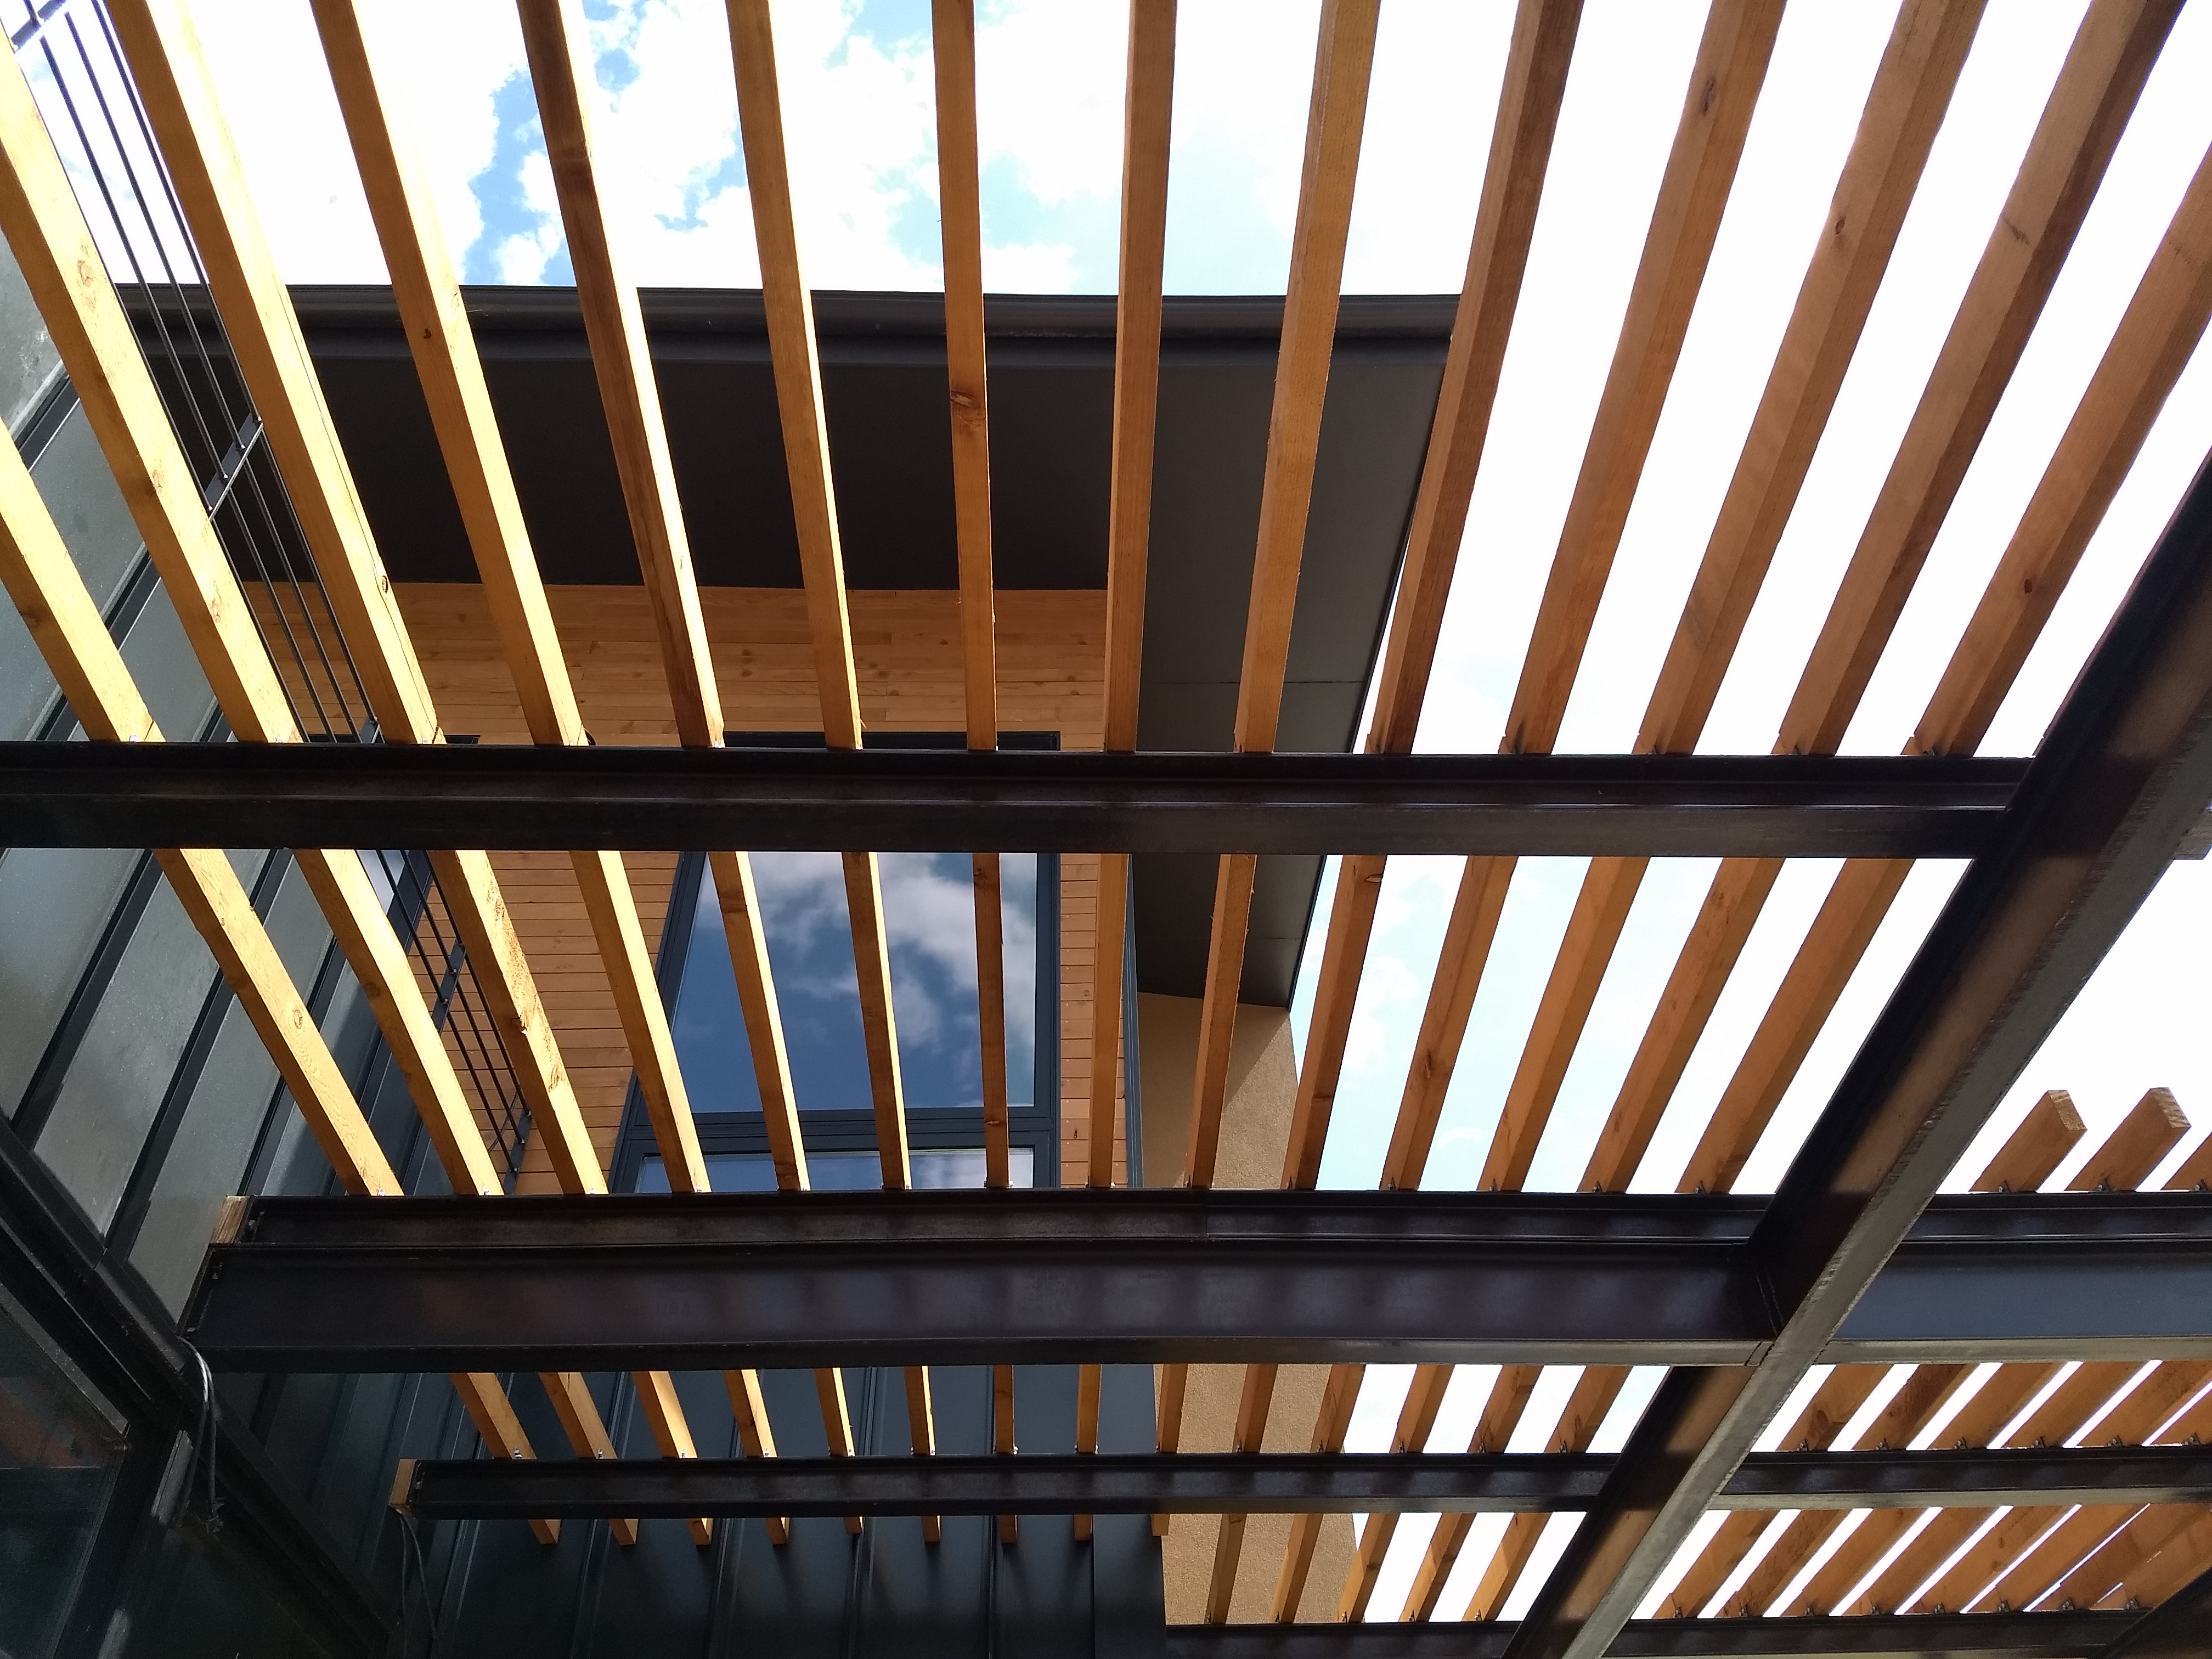
Next Post: A few photos of the Exterior Details!